Author: Site Editor Publish Time: 2025-10-13 Origin: Site
Last updated: August 28, 2026
Reduced heat, uneven output or a lamp that no longer illuminates can indicate an infrared emitter problem, but the lamp is not always the only cause. This guide provides a practical sequence for diagnosing a Fostoria heater, confirming a compatible replacement and completing the replacement safely.
Disconnect and isolate electrical power before opening the heater or touching the lamp assembly. Allow the heater to cool completely. Infrared lamps and reflectors can remain hot after visible output stops. Installation and electrical testing should be performed by qualified personnel following the heater documentation and applicable local requirements.
Check the power supply, fuse or protective device, control signal, terminal condition and lamp continuity. A failed contact or controller can produce the same symptom as an open lamp.
Inspect the reflector for contamination, the lamp for darkening or deformation, and the mounting for incorrect distance or angle. Compare output across zones. A process or airflow change may also cause uneven product temperature.
Do not continue replacing lamps without investigating. Verify supply voltage, switching method, cooling, vibration, mounting stress, cable condition and contamination. Repeated failure often indicates an installation or operating issue.
Record the heater model, lamp marking, voltage, wattage, overall length, heated length, tube construction, end fittings, cable length and operating orientation. Photograph both ends and the complete installed assembly. A replacement should not be selected from appearance alone.
The replacement should maintain the intended spectral output and response unless the complete process has been reviewed. Short-wave and medium-wave lamps can have similar dimensions while producing different heating behavior.

Isolate power and verify the heater is cold. Use the site lockout procedure where applicable.
Document the existing installation. Photograph cable routing, holder position, reflector orientation and lamp direction before removal.
Remove guards and retain hardware. Support fragile components and avoid bending reflector panels.
Disconnect the lamp without pulling the cable. Examine terminals and holders for heat damage or looseness.
Clean the surrounding assembly. Remove dust and deposits using methods suitable for the reflector and heater.
Install the confirmed replacement. Avoid touching the quartz surface with bare hands. Keep the lamp free from twisting or mechanical stress.
Restore connections and guards. Confirm clearances, cable routing and mounting security.
Test at controlled power. Observe the lamp, current draw and heating pattern before returning the heater to production.
The lamp starts and responds normally to the controller.
No arcing, unusual vibration or hot connection is present.
The active heated length aligns with the reflector and work area.
Product temperature is checked at the same reference points used before replacement.
Guards and interlocks are restored before normal operation.
Keep reflectors and ventilation paths clean, protect the heater from impact, avoid contamination on quartz surfaces and investigate voltage or control abnormalities promptly. Maintenance intervals should reflect the real operating environment; dusty coating areas may require more frequent inspection than clean process rooms.
Not without an engineering review. A higher rating can overload wiring or controls, overheat the reflector and change product quality.
Often yes, if the remaining lamps and electrical components are in good condition. Compare zone output after replacement because aged lamps or dirty reflectors may create imbalance.
Provide voltage, wattage, overall and heated length, tube and end details, heater model, photographs and the operating orientation.
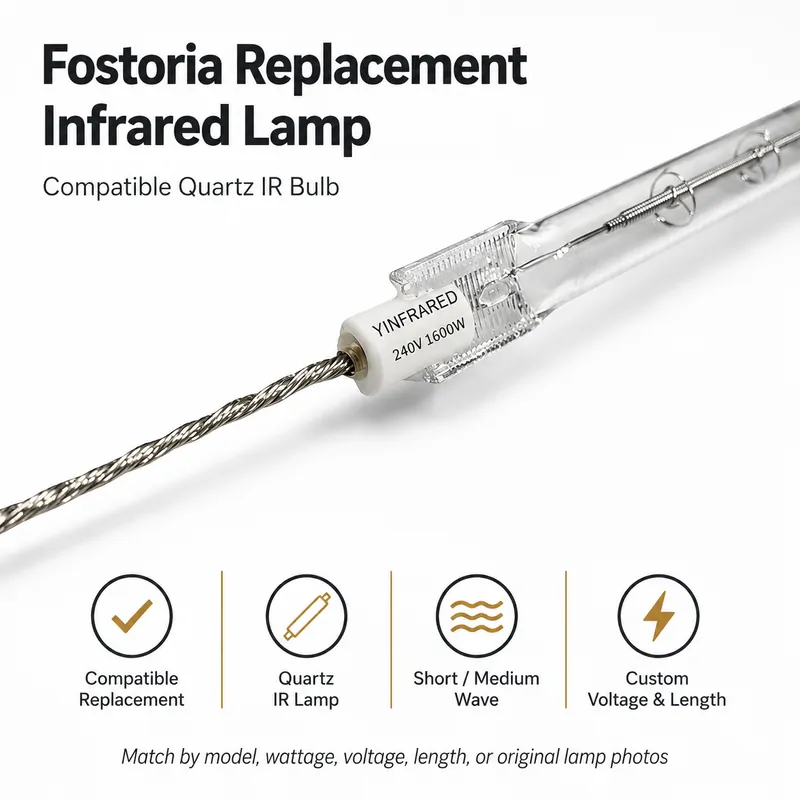
Review the YFR Fostoria replacement infrared lamp range and send your existing lamp data for a compatibility review before installation.


