Author: Site Editor Publish Time: 2025-07-27 Origin: Site
Last updated: August 28, 2026
A PET blow molding replacement lamp must fit the machine, match the electrical system and reproduce the intended preform-heating zone. Appearance alone is not enough. This checklist shows the information required to review a replacement without guessing from lamp length or wattage.
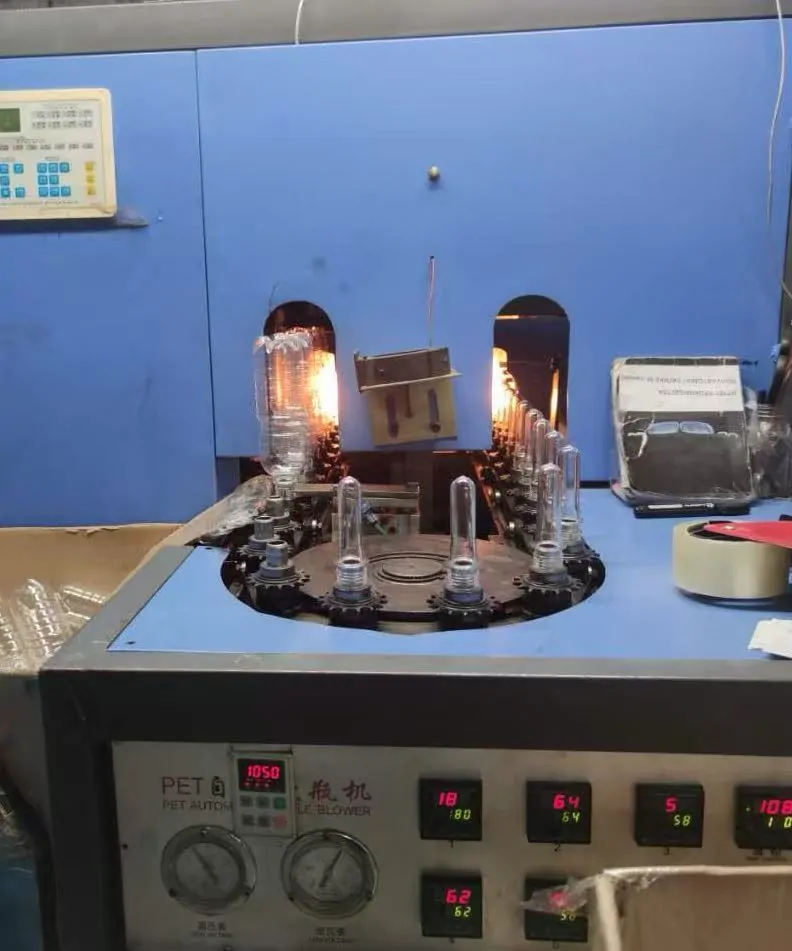
Record the blow molding machine brand, model, heating-oven position and lamp-zone number. Photograph the lamp marking before removal if it is still readable. Also photograph both ends, the connector or cable, the reflector and the way the lamp is supported.
If the machine uses different lamp ratings by zone, do not assume one specification applies to the complete oven.
| Required information | How to verify it | Risk if incorrect |
|---|---|---|
| Voltage | Lamp marking, machine documentation or approved drawing | Incorrect current, output or immediate failure |
| Wattage | Marked rating or verified equipment specification | Underheating, overload or poor zone balance |
| Overall length | Measure end to end using the agreed reference points | Lamp cannot be mounted correctly |
| Heated length | Measure the active filament section | Preform zone no longer aligns with the heater |
| Tube diameter | Measure the quartz tube without including clips | Holder or reflector mismatch |
| Ends and connection | Photograph ceramics, leads, terminals and connectors | Electrical or mechanical incompatibility |
| Reflector | Confirm coating type, position and clear windows | Changed heat direction or uneven preform heating |
| Operating orientation | Record the installed position in the machine | Filament distortion or reduced service life |
Overall length determines whether the lamp fits the holder. Heated length determines where useful radiation is produced. Two lamps can share the same overall length while heating a different section of the preform. Always record both values and state the measurement reference points.
Voltage and wattage define the nominal electrical load, but the control system, wiring and zone arrangement must also be considered. Check whether lamps are connected individually or as part of a circuit, and verify the machine’s approved rating before changing specifications.
Replacing a lamp with a higher wattage to solve a process problem can overload components or disturb the oven profile. First check reflector condition, lamp ageing, connection resistance, cooling and recipe settings.
PET ovens commonly use reflector-coated quartz lamps to direct radiation toward the preforms and reduce unwanted heating behind the lamp. Confirm the coating type, coated arc, clear areas and orientation. A reflector positioned incorrectly can change the heat pattern even when the electrical rating is correct.
Review YFR's PET blow molding infrared heating lamp for available configuration guidance.
| Observed symptom | Items to inspect |
|---|---|
| One cold band on the preform | Failed lamp, heated-length position, reflector contamination or zone output |
| Uneven temperature around the preform | Preform rotation, lamp spacing, reflector condition and airflow |
| Neck area overheats | Shielding, lamp alignment, cooling and recipe power distribution |
| Frequent lamp failure | Voltage, terminal contact, cooling, contamination, vibration and orientation |
| Process slowly loses output | Lamp ageing, reflector degradation, dust and sensor drift |
Isolate the machine and allow the heating zone to cool.
Handle quartz with clean gloves and avoid touching the tube with bare hands.
Inspect holders, contacts, reflectors and cooling paths before installing the lamp.
Mount without forcing the quartz or restricting thermal expansion.
Confirm reflector direction and connector security.
Start at a controlled recipe and compare the preform temperature profile.
Follow the machine manufacturer's safety and maintenance instructions. Qualified personnel should perform electrical work.
No. Heated length, diameter, ends, connection, reflector and orientation are also required.
No. Reflector appearance can provide a clue, but the construction and coated position must be confirmed from the specification or sample.
That depends on lamp age, maintenance policy and zone balance. If only one lamp is replaced, verify that its output does not create a new temperature difference.
Provide the full lamp, printed marking, both ends, connector, reflector, mounting position and a ruler showing critical dimensions.
YFR supplies industrial infrared lamps for PET preform heating and other processes. Send the existing lamp data and machine information for review.


